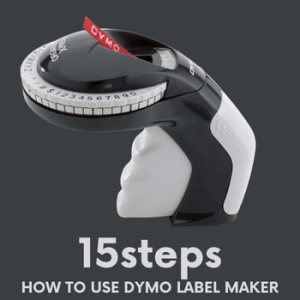
How to use Dymo label maker
How to use Dymo label maker in 15 steps
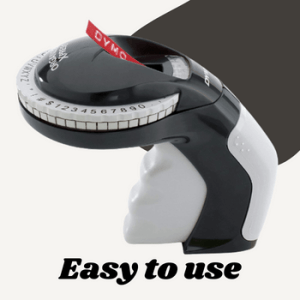
With the Dymo label maker, you can create labels for almost any surface, and the coolest part is that it is easy to use.
First-time users may find the Dymo label maker difficult to operate. With the help of this guide, you will be able to know how to use Dymo label maker in no time.
As well as tips and tricks to use the Dymo label maker more effectively, we’ll show you how to make the most of it.
Continue reading this article and leave your comments below.
How to use Dymo label maker
Here are the 15 steps to follow
These 15 actionable steps will help you use the Dymo label maker.
STEP 1. You will need to extend the embossing tape by about one inch. By doing this, you will be able to load your Organizer Xpress more easily.
STEP 2. Open the Organizer Xpress by pulling on the door located on the handle.
STEP 3. Place the embossing tape in the slot at the top of the label compartment. Make sure the tape is fed in as far as possible.
The label compartment should be filled with embossing tape. You can feed the tape through the unit by squeezing the handle two times.
STEP 4. It is time to close the label compartment door. To continue feeding the tape, squeeze the handle two more times.
STEP 5. You can select different characters by turning the wheel.
STEP 6. Choose the scissors icon by turning the wheel.
STEP 7. You should squeeze the handle firmly. As a general rule, the scissors symbol will cut the tape, but when loading a new roll of tape, you can select this symbol to help feed it through.
STEP 8. Select the dash icon by turning the wheel.
STEP 9. Continue to feed the embossing tape through the Organizer Xpress by squeezing the handle twice.
STEP 10. Select the desired character by turning the wheel.
STEP 11. When you’ve selected the character you want to emboss, squeeze the handle firmly.
The tape can now be embossed with the desired text by repeating steps 10 and 11.
STEP 12. You can advance the tape by pressing the dash symbol. You can insert blank spaces between words and characters with it.
STEP 13. By squeezing the handle, you can advance the tape without embossing any characters.
STEP 14. When you’re ready to cut the tape, select the scissors symbol and squeeze firmly.
STEP 15. In the final step, remove the backing from the tape and apply it to the desired surface.
Interactive Video for you
Watch the video to know more in details
Gadgetexa provides you an interactive video about how to use Dymo label maker.
By which you will be able to know it’s features more relatively.
[NOTE: This is not our video but we found this video helpful.]
Watch this video to know more-
Conclusion
Some final words about how to use Dymo label maker
Thank you for reading this article. We hope it has been helpful to you. Our guide covers everything you need to know before using the Dymo label maker and answers a few questions as well.
If you find this post helpful please comment below. And also if you buy from amazon by my link I’ll get some commission.
This will cost you nothing but help me to make more post and videos like this.
Thanks.


Great stuff! Having owned a DYMO for years, mine broke, or at least has an out of sync wheel. The new Dymo came with no instructions, manuals, or links? It is so simple to use Newell Office Products must have deemed an owners manual unnecessary. After watching your video I now consider myself a DYMO power user and may own 2 working DYMOs. My OOSW condition occurred reloading the new tape, which inserted under a piece of old tape. Clear the chamber before loading! I learned my ABCs playing with Dad’s DYMO in 1960. From your video I have learned one is never to old to learn something new about something so familiar. Thank You. Your video is five star.